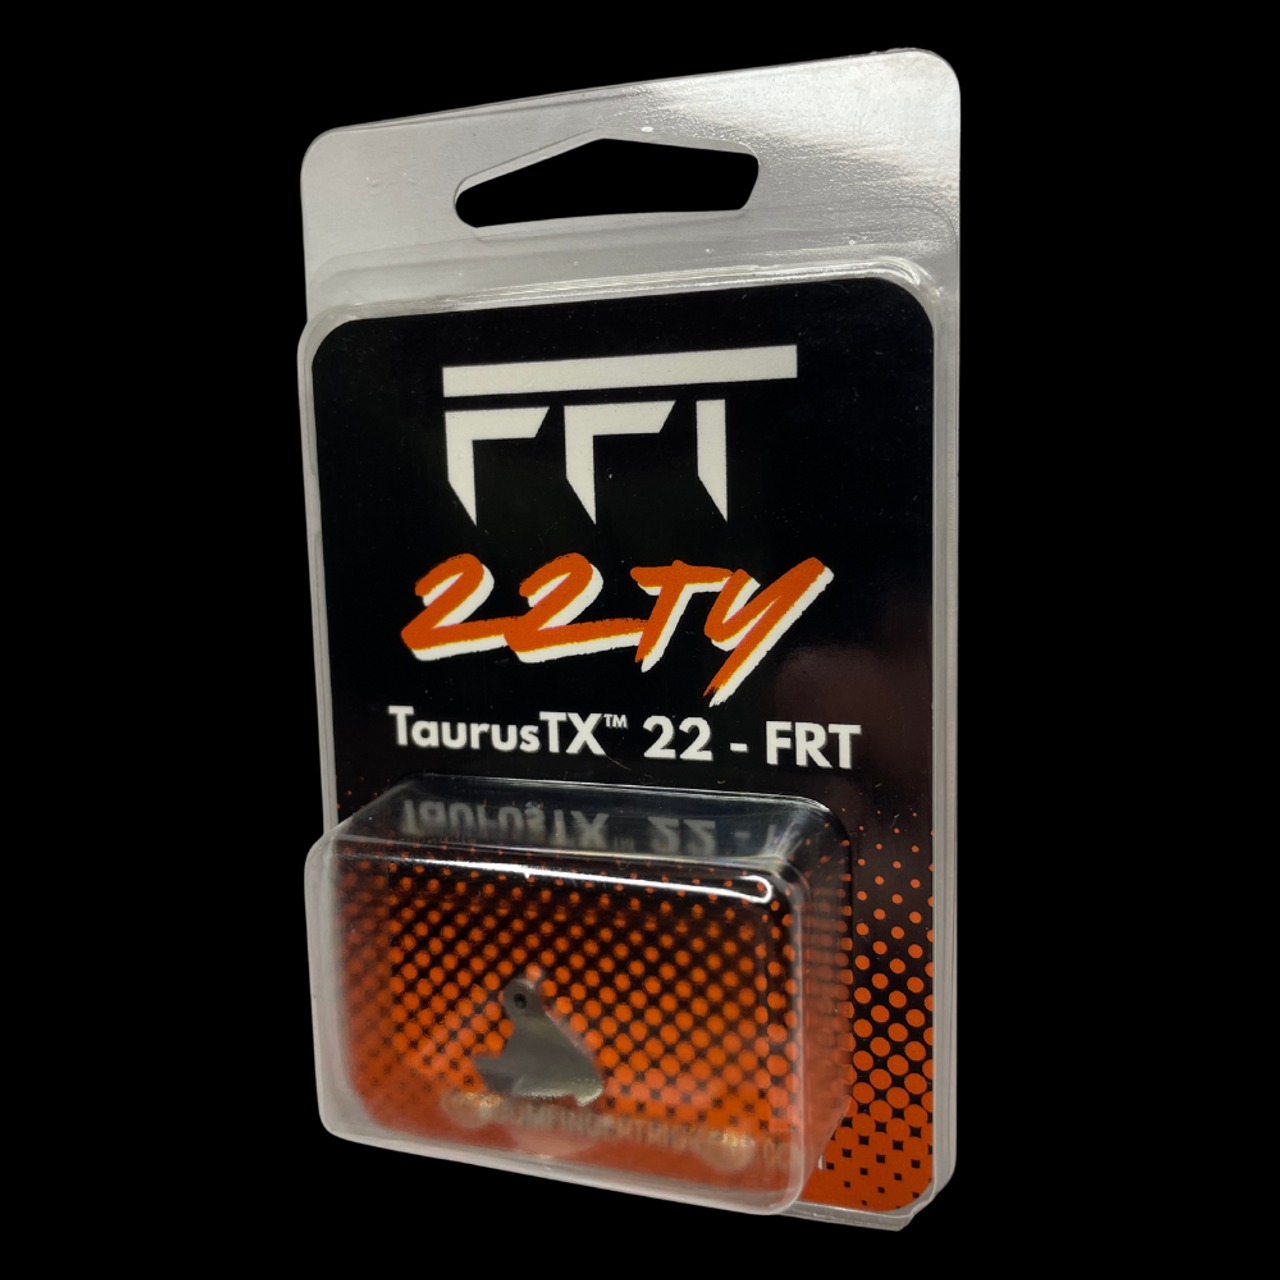
The Complete TX22 FRT Installation Guide
Step-by-Step Manual for Freedom Finger Triggers TX22 FRT Installation
1 Safety & Legal Disclaimer for TX22 FRT Installation
Safety First: Always treat every firearm as if it is loaded. Work in a well-lit, clean area and use proper safety gear including eye protection.
Legal Compliance: The FRT (Forced Reset Trigger) is a regulated component. Always verify federal, state, and local laws before purchasing or installing this TX22 FRT. This installation should be performed by a qualified individual.
Warning: Installing a Freedom Finger Trigger (FRT) on your Taurus TX22 may alter the firearm's operation and could be subject to regulation.
2 Tools & Preparation for TX22 FRT Trigger Install
Gather these essential tools before starting your TX22 FRT installation:
Pro Tip: Have a diagram of the TX22 fire control group ready. Understanding the TX22 FRT dimensions and how they compare to the stock components will help your installation.
3 Step-by-Step TX22 FRT Install Process
Clear the Firearm
Remove the magazine and visually inspect the chamber to ensure the pistol is completely unloaded.
Remove the Slide
Pull the slide slightly rearward, press the slide release down, and slide the assembly forward off the frame.
Drive Out Frame Pins
Using the hammer and a 1/16″ punch, gently drive out the four frame roll pins.
Access Fire Control Group
Carefully lift the rear block of the frame to rotate and access the internal components.
Remove Stock TX22 Disconnector
Identify the disconnector pin. Use a 1/64″ punch to drive this pin out. Remove the factory disconnector. Note: This is where your FRT install truly begins.
Install TX22 FRT Disconnector
Insert the new Freedom Finger FRT disconnector into the same location. Align the pin hole and gently tap the pin back in until it is flush. This is the key component that transforms your trigger.
Reassemble the Frame
Reverse the disassembly steps to reassemble the fire control group and frame. Ensure all pins are securely seated. Your TX22 FRT trigger install is now mechanically complete.
4 Tuning Your Freedom Finger TX22 FRT for Optimal Performance
The TX22 FRT features a tunable edge for perfect reset. This step is crucial for reliable function and is what makes the Freedom Finger Triggers TX22 superior.
Tuning Process:
- Using a fine file, remove a minimal amount of material (0.01–0.05 inches at a time) from the tunable edge.
- After each minor adjustment, reassemble and perform a safety check with dummy rounds.
- The goal is a positive, reliable reset without short-stroking.
Caution: Over-filing can cause malfunctions. Measure twice, cut once. This is the most critical step in the how to install FRT trigger process.
Note on TX22 FRT Competition Use: For competition shooters, the tunable nature of the TX22 competition FRT allows for fine-tuning to match your specific shooting style and ammunition.
5 Function Testing & Troubleshooting Your 22 FRT Trigger
Initial Testing Procedure
After installation and tuning, test the firearm unsuppressed first. Some suppressors can cause "bolt bounce" due to back pressure, which may affect FRT for TX22 performance.
Common TX22 FRT Issues & Solutions
Issue: Failure to Reset
Solution: Likely requires slight tuning (filing) of the disconnector edge. Revisit Chapter 4.
Issue: Pin Walking Out
Solution: Ensure the TX22 FRT disconnector pin is fully seated. Consider a light application of thread-locker if permitted by local laws.
Issue: Feed Issues
Solution: Ensure the installation did not disturb the magazine well or feed ramp. The Freedom Finger FRT TX22 should not affect feeding when properly installed.
6 Maintenance & Longevity of Your TX22 FRT Trigger
Cleaning
Regularly clean the FRT 22 and surrounding fire control group of carbon and debris. This maintains optimal performance of your Freedom Finger Triggers product.
Inspection
Check for unusual wear on the disconnector edge and trigger bar hook after extended use. The TX22 FRT dimensions should remain consistent over time.
Durability
The TX22 FRT from Freedom Finger Triggers is engineered for longevity exceeding 10,000 rounds with proper care and maintenance.
Conclusion: Mastering Your TX22 FRT Installation
Installing the Freedom Finger TX22 FRT transforms your pistol's performance with faster reset and improved control. By following this comprehensive guide, you ensure a safe, legal, and effective upgrade to your Taurus TX22.
Remember: Always verify local regulations regarding FRT install modifications and use your firearm responsibly.
Additional Resources
For visual learners, we recommend watching our companion installation video on our official channels or trusted platforms. Search for "TX22 FRT odysee" for video tutorials from our community.
Compare the Tandemkross TX22 trigger install process with ours to understand why the Freedom Finger Triggers TX22 FRT is the superior choice for performance enthusiasts.
Keywords Targeted in This Guide: freedom fingers tx22, tx22 frt, tx22 frt trigger install, 22 frt trigger, tx22 frt odysee, frt for tx22, frt install, how to install frt trigger, freedom finger tx22, tx22 frt dimensions, tandemkross tx22 trigger install, frt 22, tx22 competition frt, freedom finger frt tx22, freedom finger triggers tx22, tx22 frt disconnector